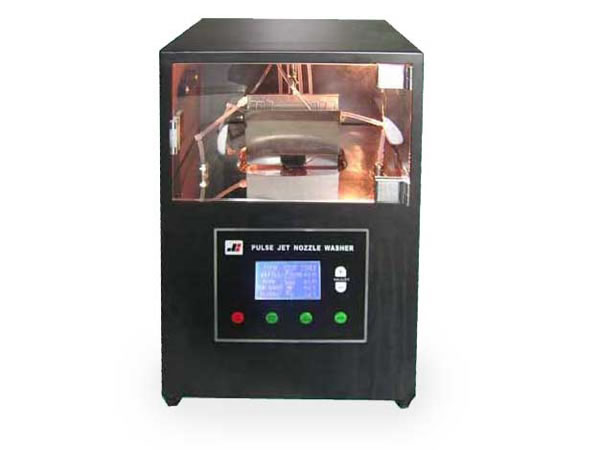

The print head cleaner has a fully automatic nozzle washer. It is ideal for resolving nozzle-blockage issues. Our device can significantly prolong the service life of print heads from brands including Xaar, Seiko, Konica, Spectra, Epson, etc. The print head cleaner is trusted by industry professionals for the daily maintenance of nozzles.
Specifications| Input power | AV 220V/50Hz |
| Voltage | DC 5V |
| Cleaning frequency | 8kHz |
| Max setting time | 15 minutes |
| Size | 30*26*49cm |
| Weight | 15kgs |
Features
1. An IC control system effectively automates the entire working procedure. The integrated LED panel clearly indicates each stage of the washing program.
2. Ultrasonic and pulse-jet flushes work simultaneously to ensure the complete and immediate removal of dirt.
3. Compatibility is guaranteed for popular print heads from brands such as Konica, Seiko, Spectra, and Xaar (126/128).
4. Functions such as soak time, flush cycle, and ultrasonic running-cycle are all adjustable up to 99 times.
5. An external heating system allows for a safe and efficient washing job.
6. The automatic running program speeds up the process and saves valuable time.
Instructions
1. Remove the clamp and loosen the fastener.
2. Remove the fastener
3. Attach the flushing pipe to the mouth of the ink nozzle.
4. Place the nozzle on the lower edge of the clamp.
5. Mount the nozzle with the fastener.
6. Ensure that the nozzle is secured by the fastener.
7. Place the clamp and the attached nozzle back on the stand.
8. Secure all pipe attachments.
9. Double check to ensure that everything is properly tightened.
10. After completing steps 1 to 9, carefully inspect the remaining fluid tubes to ensure that they are placed securely within the cleaning tank. This is very important!
11. Adjust the nozzle clamp to the optimal height by using the liquid level as a reference-it should be at the ink-intake opening of the nozzle. Under normal circumstances, this height should be 20mm above the cleaning tank.
12. After completing all steps, it is then safe to turn on the power. Configure the necessary parameters to begin automated cleaning. Please consult the machine label or product operation manual for configuration details.
Related Names
Print Head Cleaning Machine | Print Head Cleaning Equipment | Method of Print Head Cleaning


 English
 Русский
 Español
 Argentina


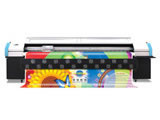 Large Format Solvent Printer UD-3208Q
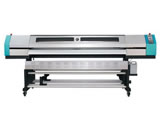 Eco-solvent Printer UD-181LA / UD-1812LA
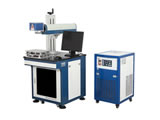 Metal Laser Engraver VS-F10

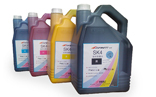 SK4 Solvent Ink for Seiko Printhead Printers
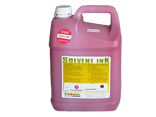 Solvent Ink for Spectra Printhead Printers
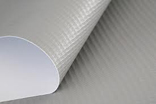 Flex Banner
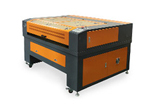 Laser Engraver VS-1290